Use the Multi View to create a fully customized Display for your data. You can select how many Viewports and in what orientation they will be displayed, and which datasets will be rendered in them. This is especially useful if you work with data across multiple image modalities.
Getting There
The Multi View is available via a pull-down menu on the Main Window.

Setting Up the Multi View Display
The Multi View tool activates a view-specific layout operator.
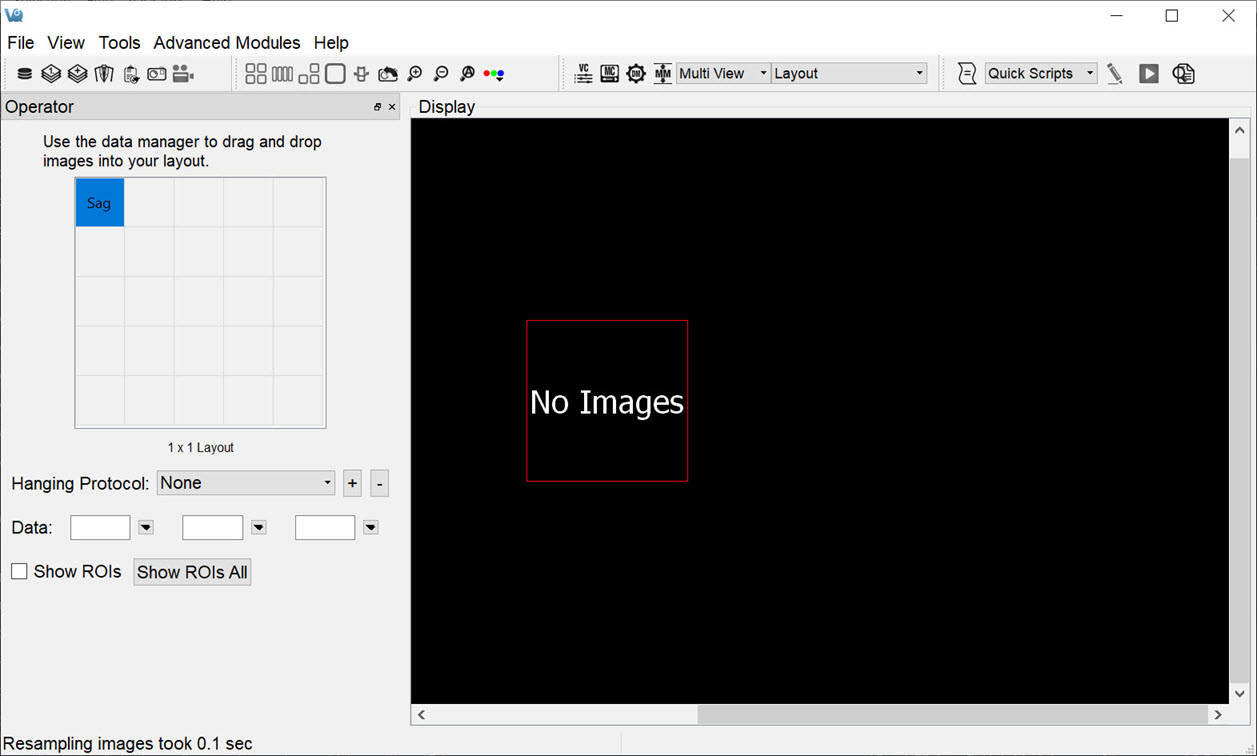
Use the Layout operator to customize the Multi View display:
- Select the desired layout, which will define the number of rows and columns of the Viewports.
- For each viewport, select the datasets and slices that will be displayed.
-
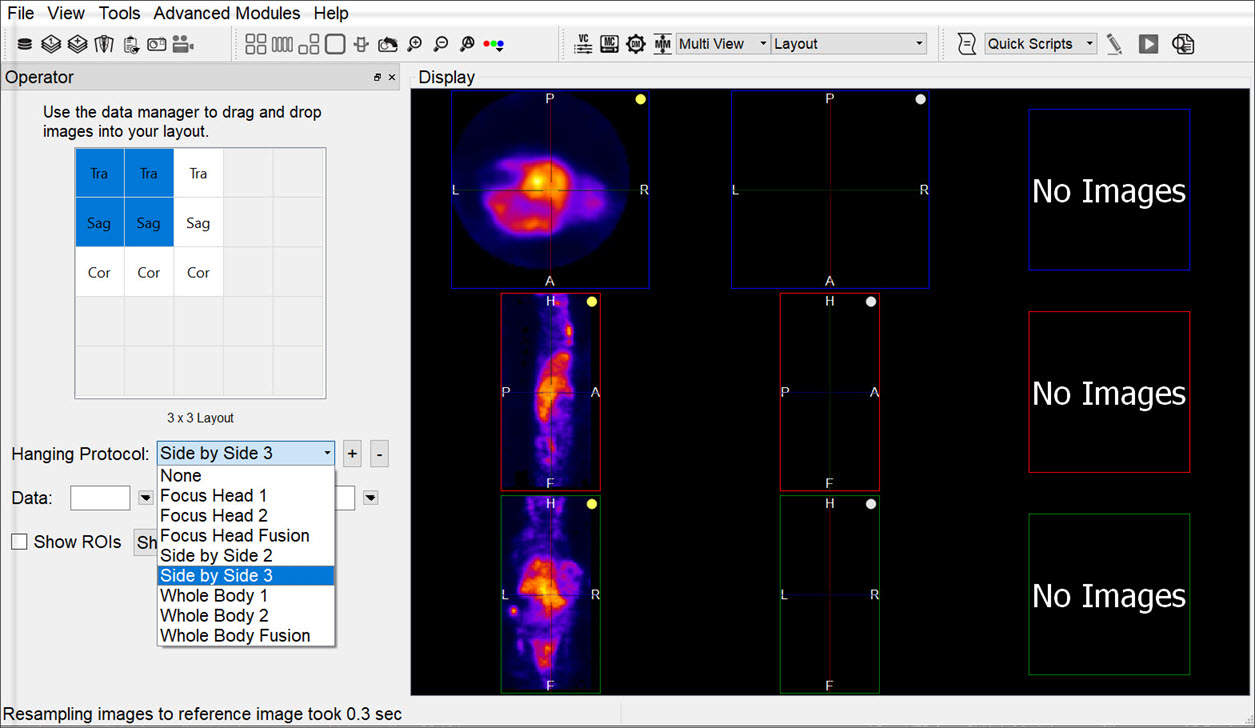
Use the Hanging Protocol pull-down menu to set the desired layout.
The 5x5 grid will populate with the corresponding number of rows and columns, and control both the datasets displayed in each viewport and the slice type.
To load data into a particular viewport, click on the corresponding box in the grid, and select the Reference, Input 1 and Input 2 dataset(s) image from the Data pull-down menus. The dataset(s) will be loaded automatically.
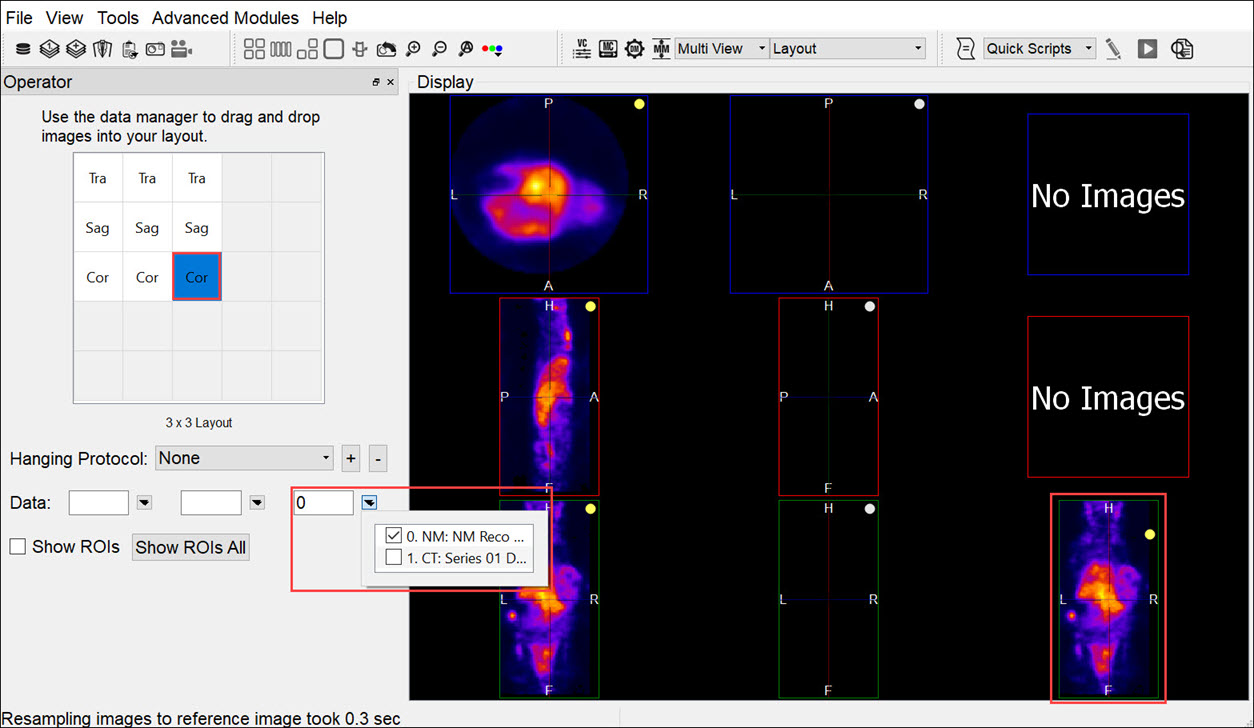
The boxes in the 5x5 grid are labelled Cor, Sag, or Tra, indicating the type of slices displayed in the Viewports. To change the type of slice, double click on the corresponding box in the grid and select the desired slice type.
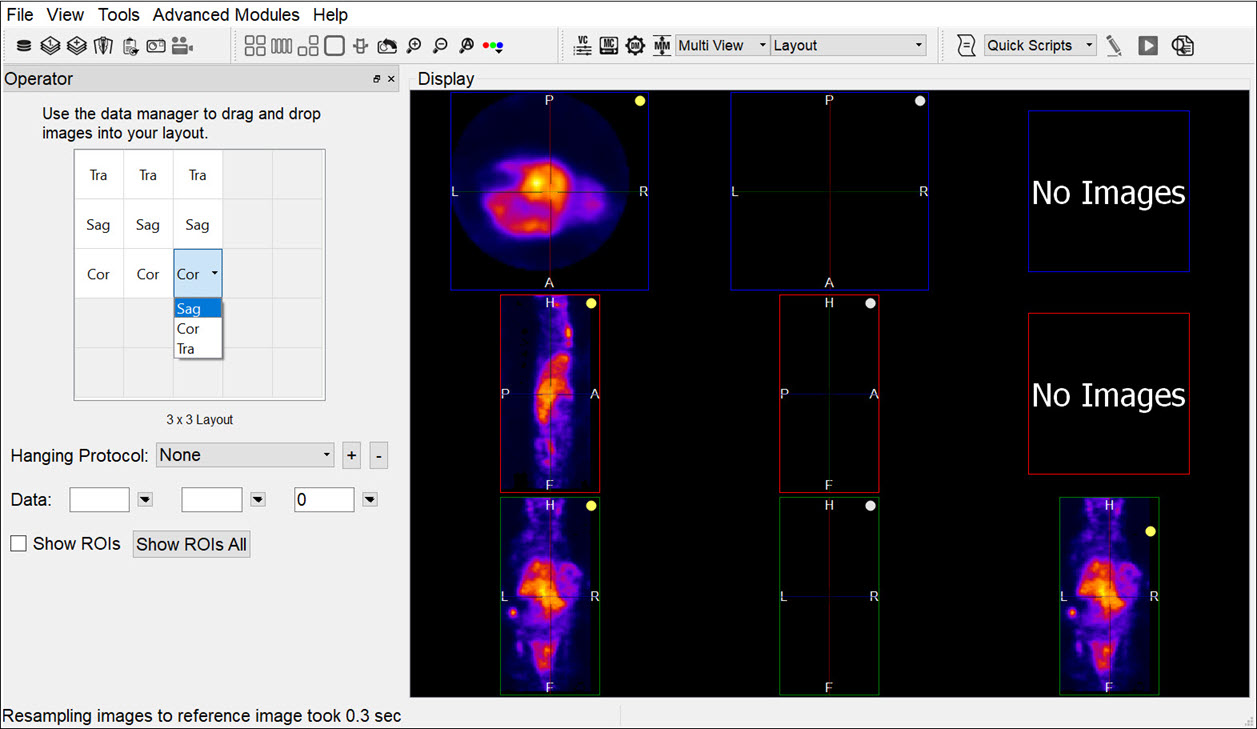
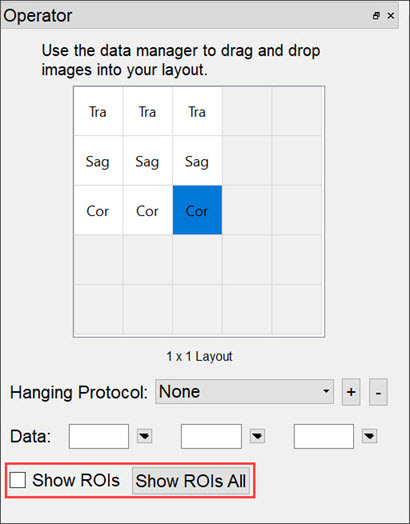
To show ROIs in a Viewport, select the desired Viewport, by either clicking on it in the Display or clicking on the corresponding 5x5-grid box, and check Show ROIs. To show ROIs in all viewports, click the Show ROIs All button.
Using the Multi View Display
Navigation
To use the Multi View in the same way as other Displays, close the Layout operator and select the Navigation operator. The Navigation operator in Multi View has identical functionalities as in Slice View.
Shortcuts
The following table displays the function of the arrow and paging keys for each active view. It also contains key and mouse sequences that allow users to pan and zoom within a slice display frame.
It is important to note that this zoom behavior differs from the standard Zoom. This zoom keeps the displayed slice bounds fixed and performs the zoom and pan within these bounds. In contrast, other UI zoom controls change the scale and display bounds of the slice.
Slice / Tile / Multi View - Navigation
| Windows / Linux Key | Mac Shortcut | Description |
|---|---|---|
| ←,→,↑,↓ | ←,→,↑,↓ | Scroll through slices |
| PageUp,PageDn | fn + ↑, fn + ↓ | Scroll through slices |
Slice / Tile / Multi View - Intraframe Zoom And Pan
| Windows / Linux Key | Mac Shortcut | Mouse Button and Action | Context | Description |
|---|---|---|---|---|
| Shift | Shift | Left down and drag | Cursor over slice frame | Translates (pan) |
| Shift | Shift | Midel down and drag | Cursor over slice frame | Translates (pan) |
| Shift | Shift | Scroll wheel | Cursor over slice frame | Zooms within display bounds |
| Ctrl + R | ⌘ + R | Cursor over slice frame | Resets zoom and pan |
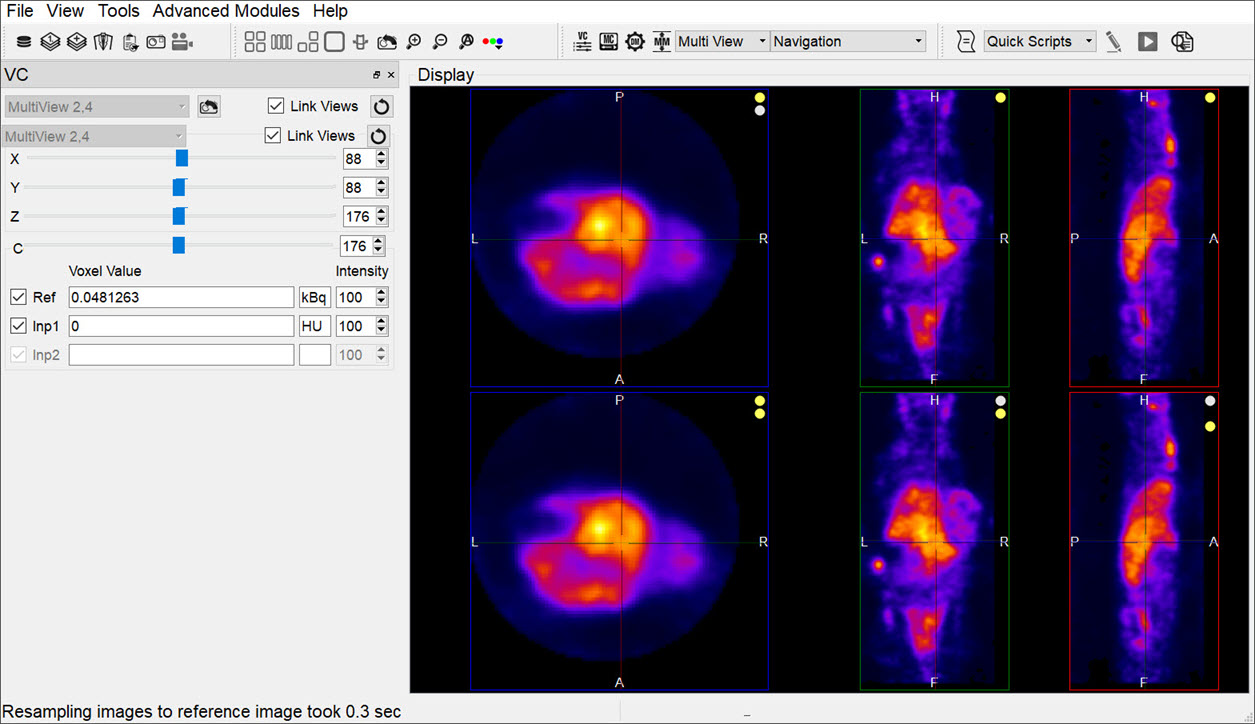
Viewer Control in Multi View
The View Control functionality is extended in Multi View to cover the new viewport layout. This includes the ability to view voxel and color information for each viewport in the Display, as well as the ability to unlink the viewports, enabling them to be navigated independently of one another.