Drawing Tools
The 2D drawing tools match the options available within the Projection++ Tool.
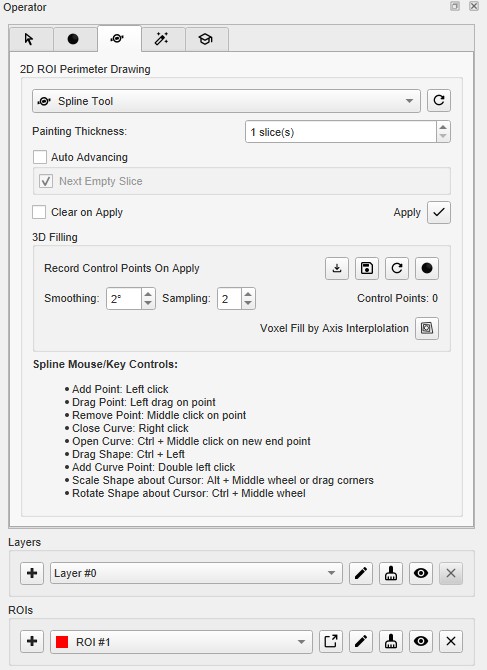
Choose the desired tool from the drop-down menu to begin drawing. Use the  button to delete a contour (this will not delete the ROI). Use the
  button to add the voxels within a drawn contour to the currently selected ROI.
Use Slice Thickness to set the number of slices the segmentation will be applied to; centered around the slice where it was originally applied.
 |
Spline tool |
 |
Bully tool |
 |
Freehand tool |
 |
2D Thresholding tool |
Spline Tool
Use the spline tool to define points between which smooth curves will be filled in. The base points can be moved by using the left mouse button to drag them. Additionally, points can be deleted by click on a middle point, or added by double clicking on a curve. Once a shape has been closed by clicking the right mouse button, it can be re-opened by hitting Shift + middle click on a point.
Bully Tool
Use the bully tool to nudge the drawn boundary inward or outward with a circle-shaped cursor. The cursor size can be changed using the paintbrush size selector in the Painting Tools panel. This mode provides an efficient way to fine-tune an ROI made in Spline or Freehand mode. You may select which image data you want to use as the input (“Ref” is the first image loaded in the Data Manager, “Inp1” is the second, etc.) and the thickness of the tool, in the bully tool and for the following three tools as well.
Freehand Tool
A freehand region may be drawn by moving the mouse while holding down the left mouse button. The region may be drawn in segments through a series left clicks and closed with a right click.
2D Thresholding Tool
Use the Percentage selector field to set a threshold for the ROI. Specify the image on which to base the thresholding using the drop-down menu.
 |
Apply Spline Path to ROI and move to next slice |
|
Apply Spline Path to ROI |
|
Clear Spline Path |
Apply Spline Path to ROI and move to next slice
This button creates a 2D ROI within the spline path and moves to next slice.
Apply Spline Path to ROI
This button creates a 2D ROI within the spline path.
Clear Spline Path
This button clears the spline path and all points.
3D Manual Segmentation Tools
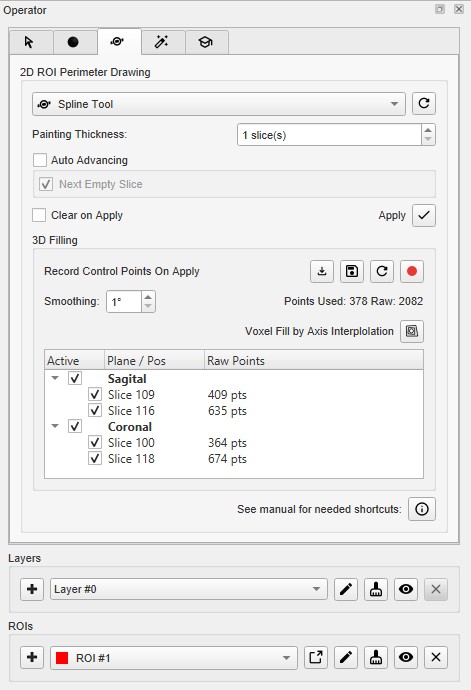
Hit the Record button in the 3D Filling group box to engage the 3D Manual Segmentation tool. Once recording is active, each time you apply a spline path it will be saved as a control path for that slice. The table below lets you manage, enable, and remove your recorded paths. When you have recorded paths across the slices that capture the key shape changes of your structure, press Voxel Fill by Axis Interpolation. The algorithm interpolates a smooth containment surface between your control paths and fills the enclosed volume slice by slice. For best results, record paths at slices where the shape changes most — you do not need to cover every slice, only the ones that define the structure’s major transitions.
| Quality Settings | Description |
|---|---|
| Smoothing | Controls how faithfully each recorded path follows the original drawn contour. Lower values preserve more points and produce a more accurate representation of the drawn shape; higher values discard more points, resulting in a smoother but more generalised contour. |
Control paths can be exported to and imported from a JSON file using the provided buttons. Note that saved paths are spatially registered to the dataset they were created on and should not be applied to data with different dimensions or spacing.
3D Segmentation Tools
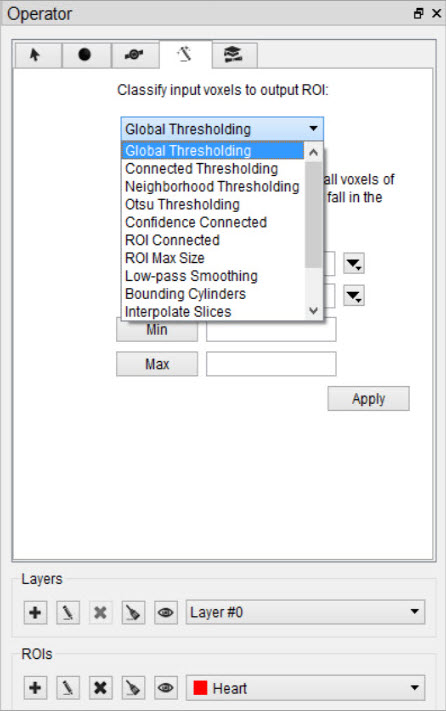
The 3D Segmentation Tools are located in the Segmentation Algorithms tab  . They be used to apply different thresholding techniques across input images and user-defined ROIs, as well as advanced ROI processing.
Setting the Input and Output ROI
The Input ROI must be selected from the Input drop-down menu before applying thresholding. If an ROI other than the background is selected, only image pixels within the chosen ROI will be considered when thresholding is performed.
The Output ROI is the ROI specified in the ROI drop-down menu located at the bottom of the 3D ROI Operator window. If the Output ROI is not empty prior to thresholding, the result of the thresholding will be added to the existing voxels of the Output ROI.
Keep in mind that other ROIs may be overwritten if the result of a thresholding technique intersects them. To prevent other ROIs from being altered, set them to immutable. (See Edit an ROI to learn how to make an ROI immutable.)
Choosing the Image Data
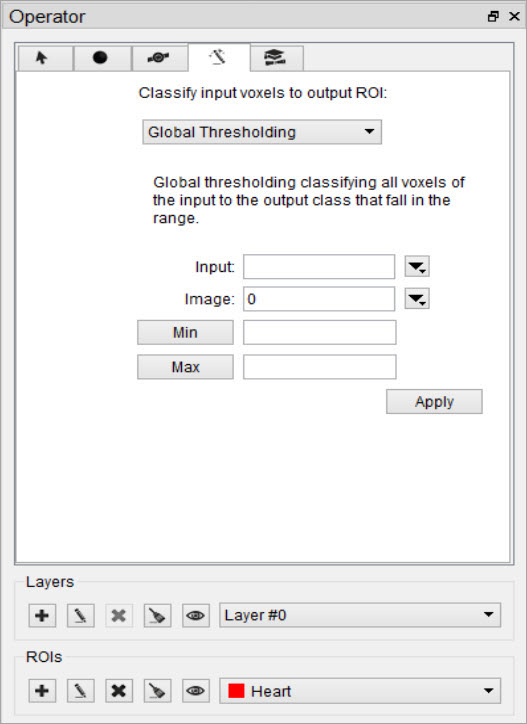
The segmentation algorithm will work on the data from the image specified in the Image drop-down.
Setting the Seed Point
For methods that require a seed, the cursor location at the time the thresholding is performed will be used.
Setting the Thresholds
For methods that require thresholds, use the number fields beneath the Image Selection drop-down. Click the Min and Max buttons to the left of each threshold field to fill in the minimum and maximum values, respectively, from the selected image. The unit is assumed to match that specified in the header.
Available Thresholding Methods
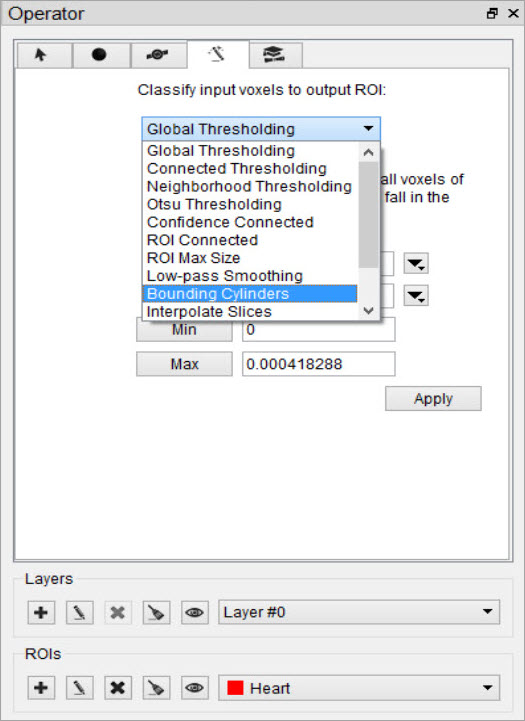
The thresholding methods available can be selected from the Segmentation Algorithm drop-down menu. After selecting a seed and thresholds as necessary, click ‘Apply’ to perform the segmentation. The thresholding operation may take about a minute to complete.
| Requires Seed? | Requires Thresholds? | |
|---|---|---|
| Global Thresholding | No | Yes |
| Connected Thresholding | Yes | Yes |
| Neighborhood Thresholding | Yes | Yes |
| Otsu Thresholding | No | Yes |
| Confidence Connected | Yes | No |
| ROI Connected | Yes | No |
| ROI Max Size | No | No |
| Low-pass Smoothing | No | No |
| Bounding Cylinders | No | No |
| Interpolate Slices | No | No |
| Modal Smoothing | No | No |
| Connected Components | No | No |
| K-Means Clustering | Yes | No |
ROI Max Size
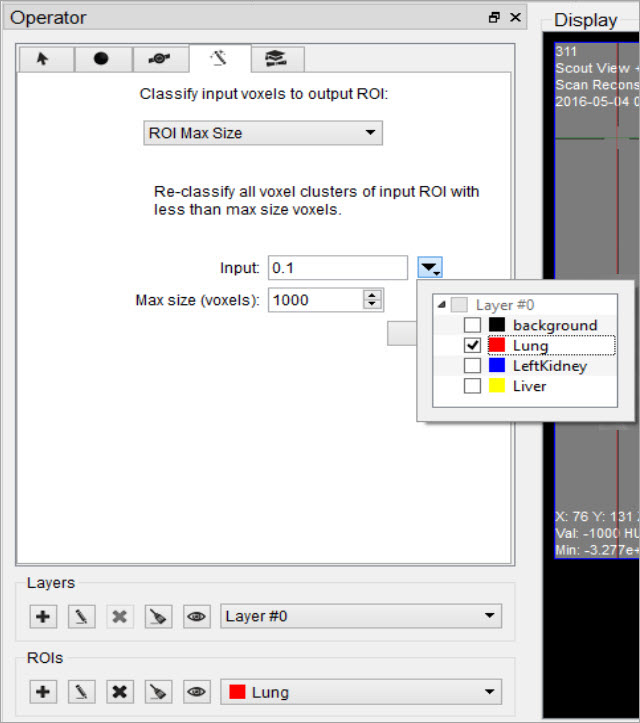
The ROI Max Size filter can be used to fill holes in existing ROIs. Any connected components in the Input ROI that are comprised of fewer voxels than the Max size specified will be mapped to the output ROI.
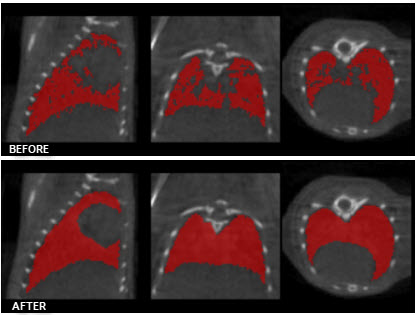
Low-pass Smoothing
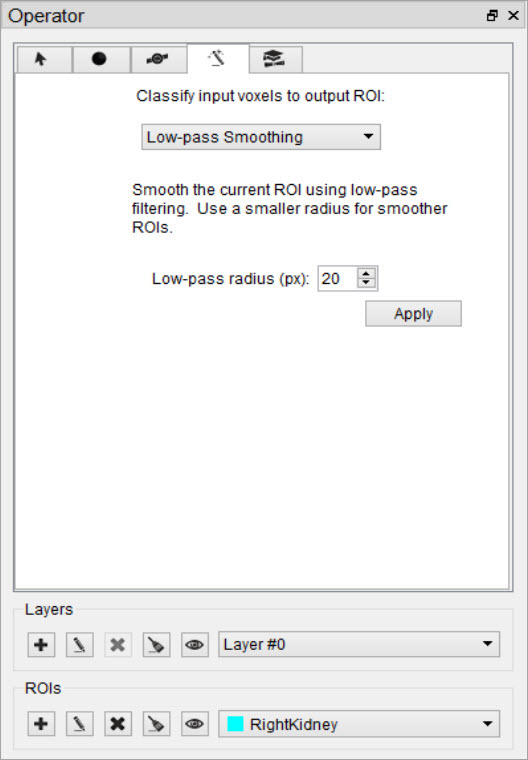
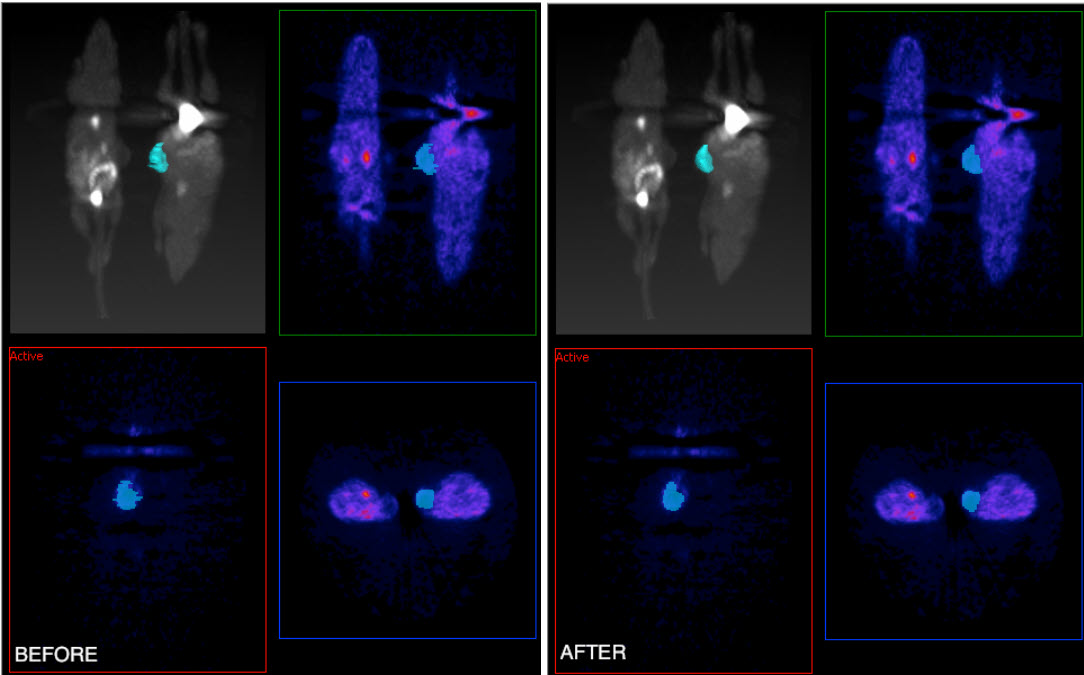
Use the Low-pass Smoothing filter to remove jagged surfaces from manually created ROIs. The amount of smoothing can be controlled with the Low-pass radius parameter. Smaller radii will result in smoother ROIs.
Modal Smoothing
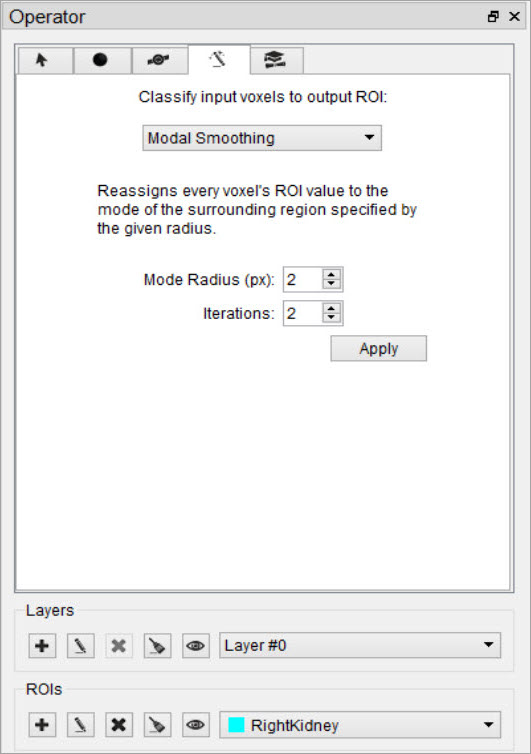
Use modal smoothing to reassign every voxel’s ROI value to the mode of the surrounding region specified by the given radius. The amount of smoothing can be controlled by the Mode Radius and Iterations parameters.
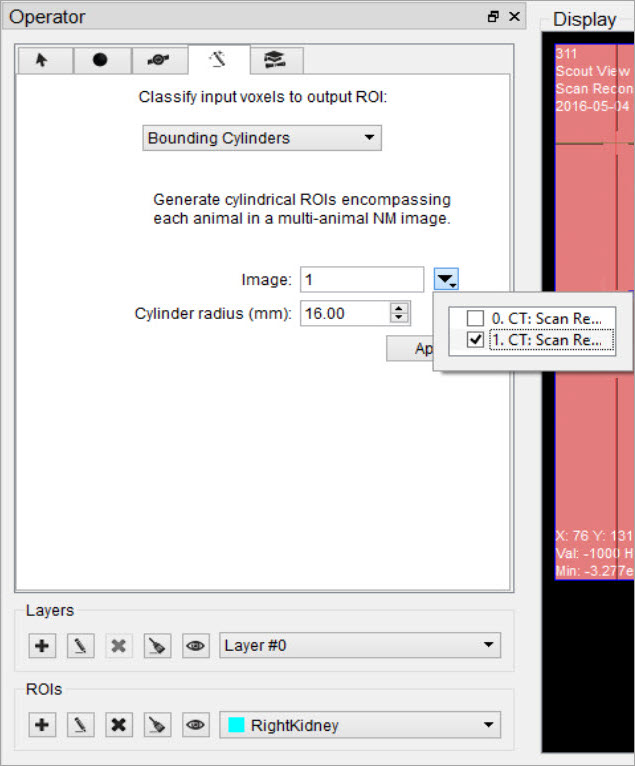
Bounding Cylinders
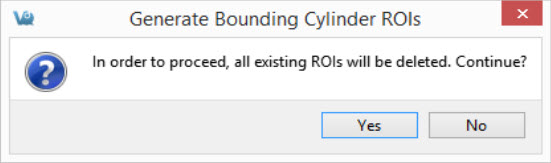
The Bounding Cylinders tool can be used to generate cylindrical ROIs that encompass each animal of a multi-animal image. The number of animals is automatically determined and the cylinder radius can be configured. This algorithm works best on NM images, but may also work on some CT images.