This function saves images as picture files. Slices can be saved individually (sagittal, coronal or transversal) or all in one image. This feature can also save a Maximum intensity Projection (MIP) picture (MIP viewer must be active).
Getting There
There are three different methods for saving images. The first method is to go to File > Save Image.

The second method is to use the keyboard shortcut Ctrl+I. For more information on keyboard shortcuts, please see Keyboard Shortcuts.
The third method is to click on the Save Image button ![]() .
.
Function
Upon selecting any of the above options, the Save Image window opens.
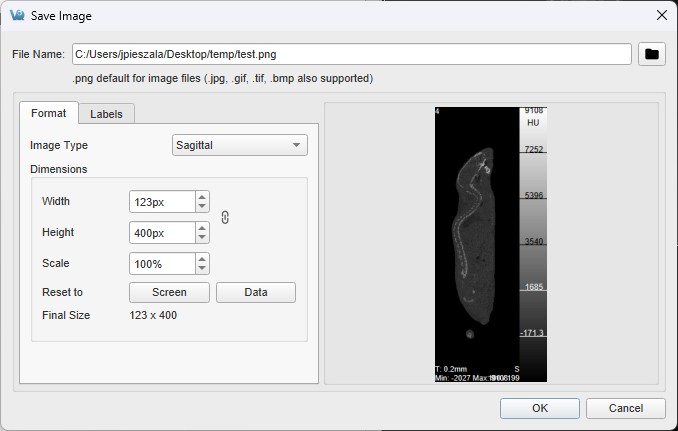
There are several options for the output images.
| Fields | Description |
|---|---|
| File name | Sets the name of the image file. |
| Image type | Sets the type of image. Image types can be: - Maximum intensity projection (MIP) - Sagittal slice - Coronal slice - Transversal slice - All Together - All Separately |
| Widith | Sets the width of the resulting image in pixels. Locked by aspect ratio. |
| Height | Sets the height of the resulting image in pixels. Locked by aspect ratio. |
| Scale | Sets a scalar magnification factor to be applied to the resulting image. |
| Reset to | Screen or Data depending on Image Type, screen is the current pixel size being viewed in VQ and data is the native voxel sizes which corresponds to the normal zoom mode. |
| Final Size | Displays the final size of the resulting image in pixels based on the width, height, and scale settings. |
| Fields | Description |
|---|---|
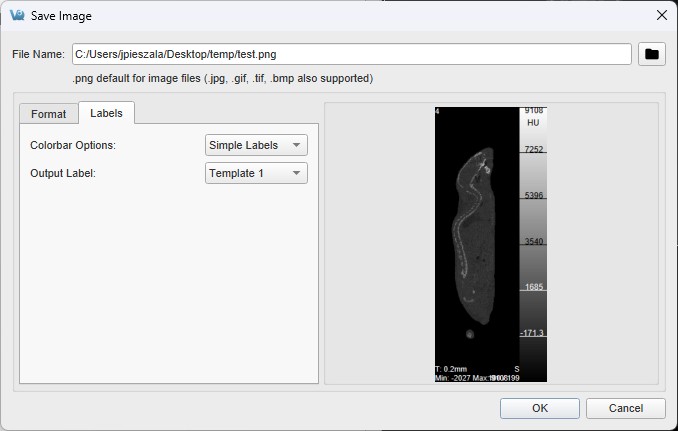
| Colorbar Options | Sets the colorbar and label options for the image. Options include: - None - no colorbars or labels - No labels - colorbars with no labels - Simple labels - colorbars with one set of evenly distributed gradations placed across all color bars. - Smart labels - colorbars with separate sets of gradations for each color bar incremented with respect to the units of each color bar. |
| Output Label | Sets whether to include corner labels, and if so, whether to use screen labels or output-specific template settings. See Corner Info for more information on template configuration. |