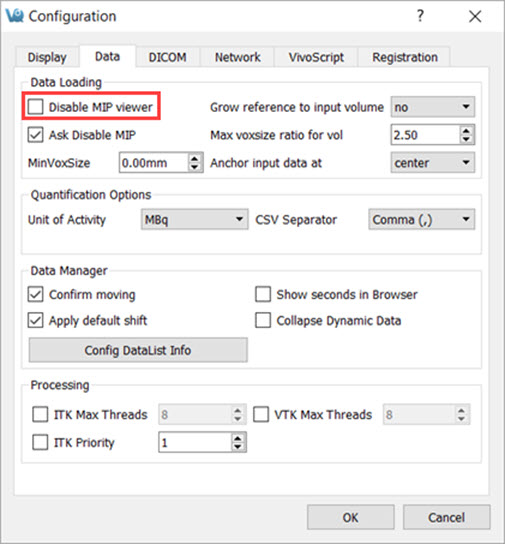
If you can’t see the MIP view or 3D rendering of your data, make sure that MIP Viewer is enabled the in your VivoQuant instance. To do this, navigate to Tools → Configuration → Data, and uncheck the Disable MIP viewer check box.
Further Troubleshooting
If, after enabling the MIP Viewer via VivoQuant’s configuration, it still doesn’t appear, or if the Disable MIP viewer checkbox is greyed out, try the following possible solutions:
Install OpenGL
OpenGL 2.0 is the minimum requirement for MIP to work, but 3.0+ is preferred. Make sure one of these versions is installed on your computer. For more information on minimum hardware requirements for VivoQuant, see Hardware Recommendations.
Check for Planar Data
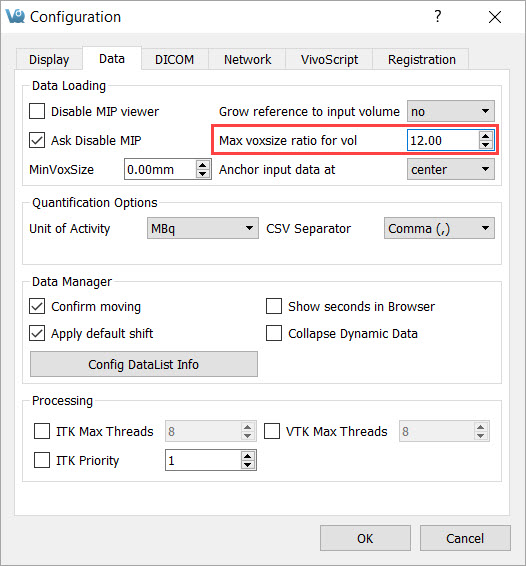
A MIP cannot be generated with planar data. Note that, even if your data is not planar, VivoQuant might interpret it as such if the Max Voxsize Ratio is less than that of your image. You can increase the ratio by navigating to Tools → Configuration → Data, and increasing the number for the field Max voxsize ratio for vol.
Check Internal Settings
If a previous run of VQ failed to set up the MIP, a setting might be preventing further attempts to create it. To reset this setting, follow the below steps:
-
On Windows: Open the Registry Editor and navigate to:
Computer\HKEY_CURRENT_USER\Software\inviCRO\VivoQuant\MIP. Check that theQVTKWidgetCreationFailis set tofalse.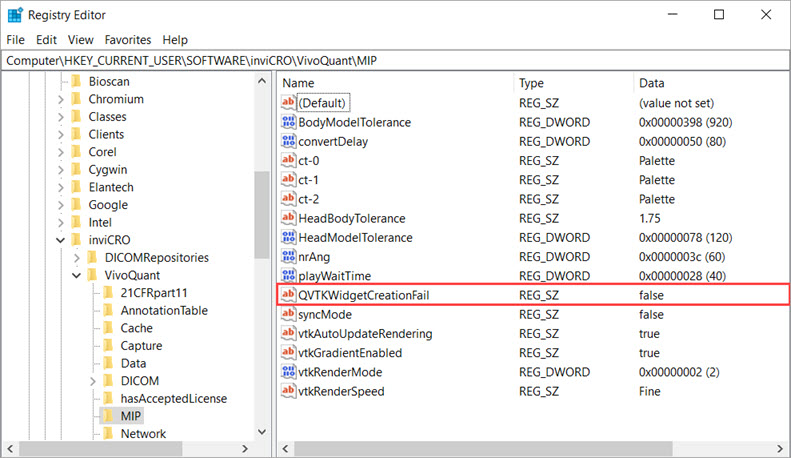
Windows Registry Editor If you need to set the correct key value, right-click the key, select Modify and type
falsein the Value data field. You will need to restart VivoQuant for the change to take effect.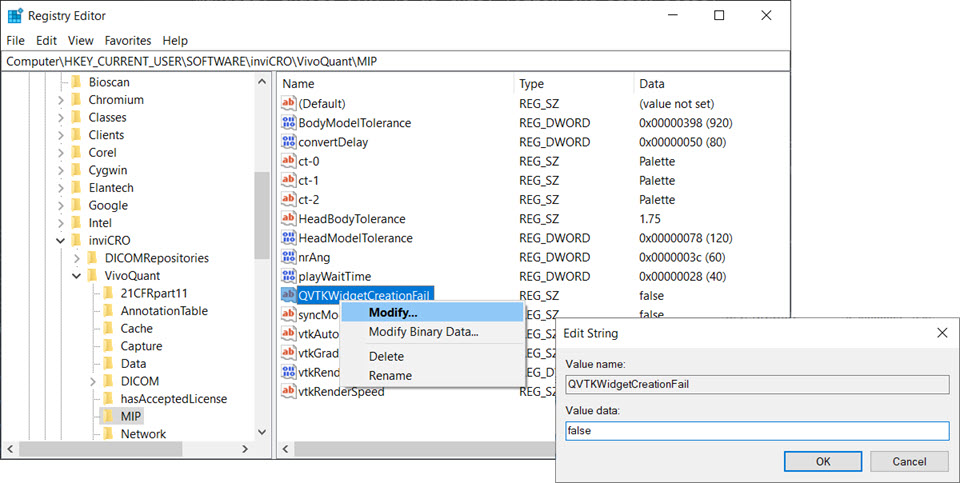
Set Key Value -
On Mac: open the Terminal and run the following command:
defaults write com.invicro.VivoQuant "MIP.QVTKWidgetCreationFail" 0