After accepting the VivoQuant license, you have the option to choose the install location and components, which allows you to tailor the installation to your specific needs.
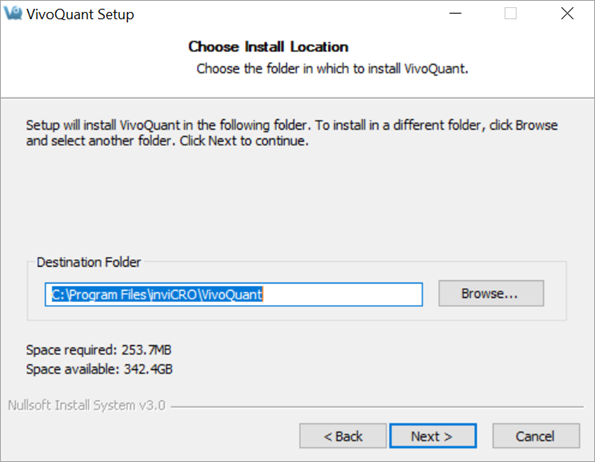
Choose Install Location
For the destination folder, it is recommended to keep the default settings. However, if you would like to install multiple versions of VivoQuant on your system, you can choose a different install location here.
Choose Components

| Component | Description | ||||||||||||
|---|---|---|---|---|---|---|---|---|---|---|---|---|---|
| Qt5.7 libraries | Unless you already have Qt installed on your system, it is highly recommended that you use the version coming with VQ. | ||||||||||||
| ImageMagick binaries | It installs the IM programs mpeg2encode (required for
generation of MPEG movies) and convert (general
tool to convert image formats, not required by VQ).
|
||||||||||||
| Manual | After installation, the manual is available by pressing
<F1> on the main VQ screen, or using the
Help|Manual menu. Alternatively, you can also find the manual online at
www.vivoquant.com/files/manual/2022.
|
||||||||||||
| Options |
|
||||||||||||
| Debugging | These options allows for debugging issues in VQ. |